Desertcart purchases this item on your behalf and handles shipping, customs, and support to Austria.
🖤 Level up your Switch style with a silky smooth grip and pro-level customization!
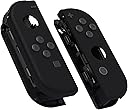
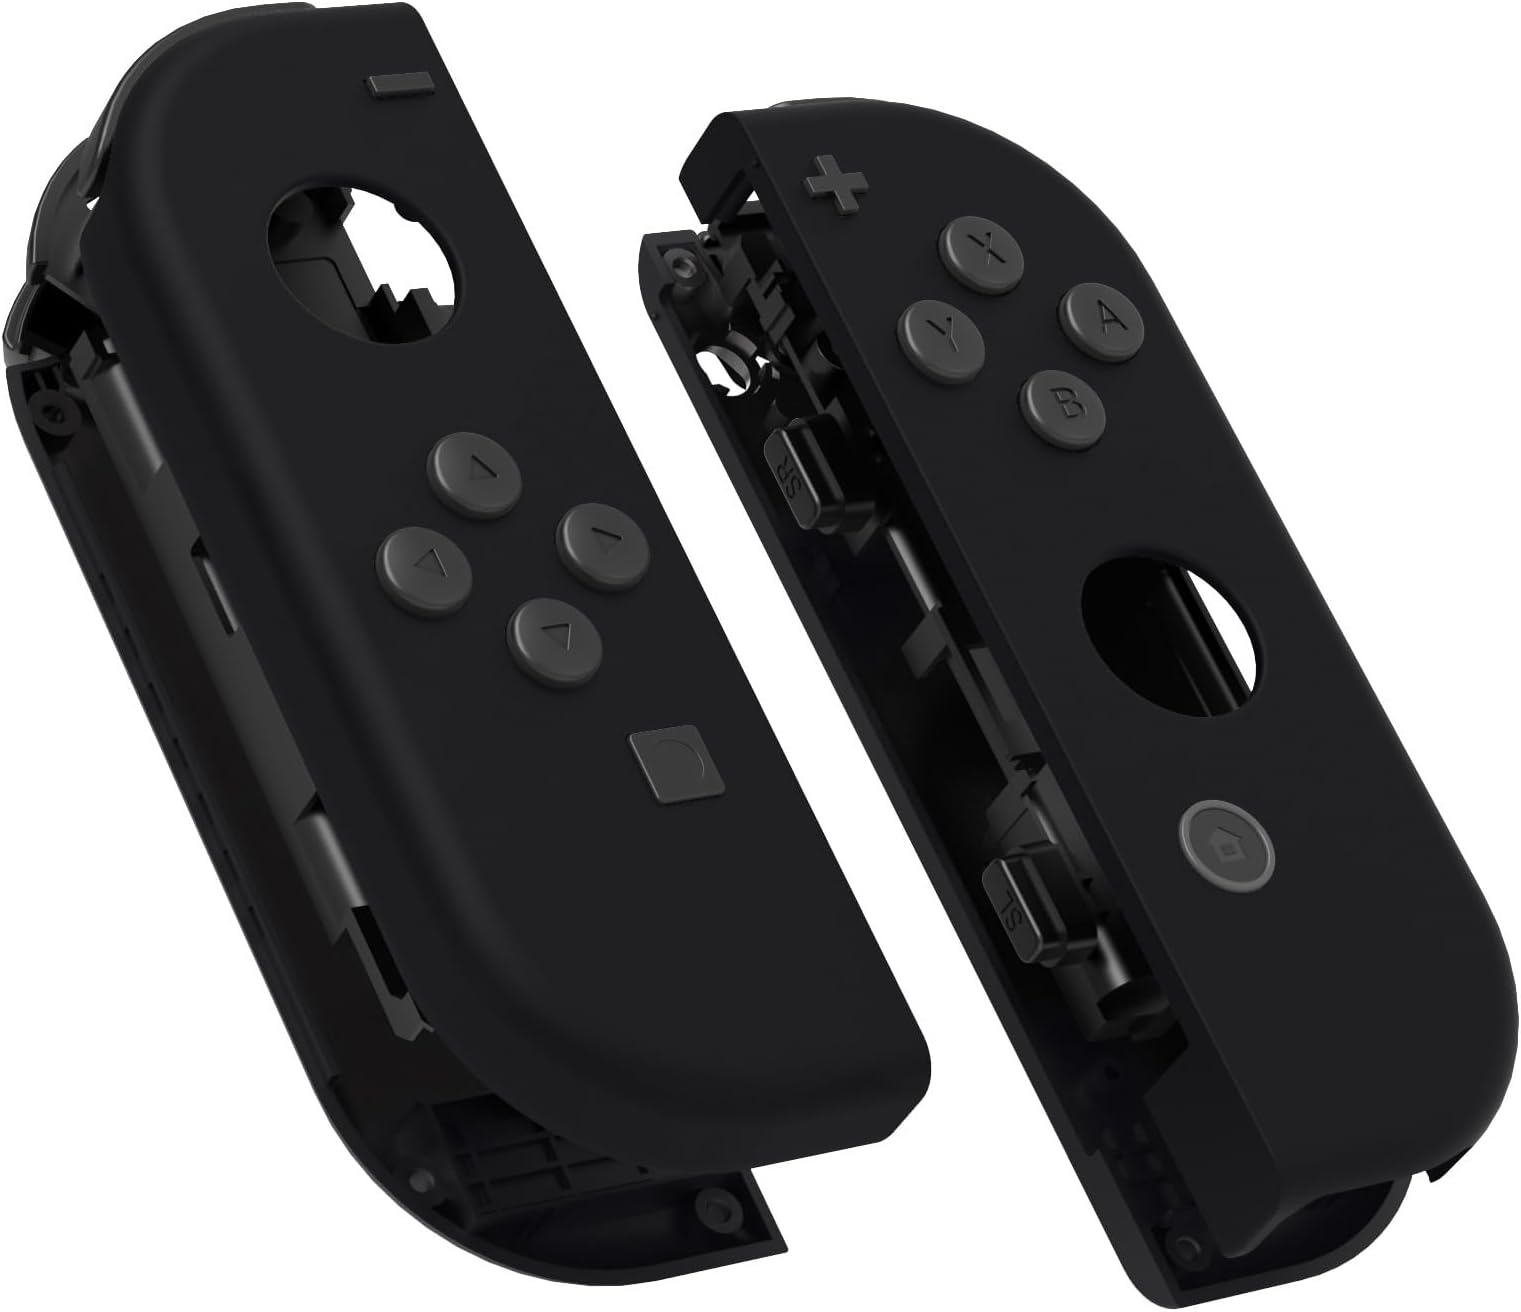
The eXtremeRate DIY Replacement Shell Buttons kit offers a premium matte black ABS housing and full button set designed specifically for Nintendo Switch and Switch OLED Joycon controllers. Engineered for a perfect fit and enhanced grip, this kit includes all necessary tools and a detailed video guide to empower gamers with moderate DIY skills to personalize their controllers with a sleek, anti-slip finish.


| ASIN | B07Q4SGJDK |
| Best Sellers Rank | #5,560 in Video Games ( See Top 100 in Video Games ) #62 in Nintendo Switch Faceplates, Protectors & Skins |
| Brand | eXtremeRate |
| Color | Black |
| Customer Reviews | 4.3 4.3 out of 5 stars (2,775) |
| Enclosure Material | Acrylonitrile Butadiene Styrene (ABS) Acrylonitrile butadiene styrene (ABS) Ac |
| Finish | Matte |
| Hardware Platform | Nintendo Switch |
| Item Dimensions W x H | 3.15"W x 1.97"H |
| Item Weight | 100 g |
| Manufacturer | Extremerate |
| Mfr Part Number | CP310 |
| Model Number | CP310 |
| Unit Count | 1 Count |
R**.
A low to medium install that makes the joycons look good
An easy install if you are familiar with electronic components, if not then make sure you have a guide that can help you feel confident in the transfer process. This is a basic install that should NOT interfere with any of the joy-con functionality. If there’s any issue that you come across it must be from a loose wire or snagged wire. Issues that you may come across would be taking out the motor connector, the trigger placement, and snagging ribbon cables. It does come with some handy tools if you don’t own any with some replacement hardware, they aren’t the best build quality but they get the job done. Other tools that would be helpful is an ESD tweezer. Other then that it’s not too difficult. (The case itself I would have to rate it at 4.5/5): It has a nice soft touch to it, however I got the pine green color and it’s a few shades lighter then the picture. Also if you have oily hands it’ll show up on these in lighting. The internal built quality is okay, they don’t fully paint the inside so there is some areas not painted, it DOES NOT include double sided tape or soft pads to attach to some internal parts. So it’s recommended to take it from the old housing and place it into the new one to prevent damages. The seam lines aren’t like an official joycon they do have small imperfections. Overall the product rating and she’ll swapping itself I would give would be 4.5/5 can really change the look of the switch, so I would definitely recommend it. I also got the buttons & stick covers but that’ll be for their own review. P.S. it’s also easy to match the color of the virtual joycons to the physical joycons if you have a computer in hand, an easy search.
J**M
Offers a sleek, premium feel
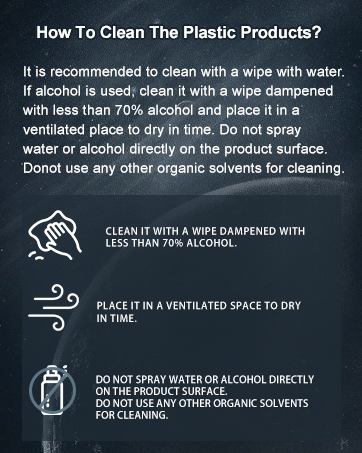
These feel sturdy yet have a softer matte finish. Be sure not to use alcohol or solvents to clean, as that will dissolve the outer coating. Mild dish soap and warm water used sparingly gets the job done and preserves the finish.
C**S
Took me about 6 hours
As far as the product itself it’s perfect. The parts all fit seamlessly and are identical to the actual Nintendo joy con. Now, as far as the installation. This was genuinely one of the hardest things I’ve ever done and I’m not exaggerating. I expected it to be difficult but this was like bad. This is coming from someone who has no experience with wiring or things of that nature so maybe this would be a walk in the park for some of you but for the average person reading this I have to be completely reasonable here and say probably 75-85% of people will absolutely not be able to complete this. To save yourself the money of breaking a controller and the time of trying to do this, I highly recommend finding a person who’s willing to do it for you for 20-30$ ( but at that point you may also just consider buying new switch remotes in any color you like ) Overall, i’m conflicted on how exactly to rate this product because the amount of work and energy that it took to complete was actually insane but I am happy I did it and it was a satisfying accomplishment. It also looks phenomenal. I think that my only piece of advice would be watch the full installation tutorial video for this product on youtube first before you buy this and be honest with urself on whether or not it’s something you can do. The videos about an hour and 20 minutes long and its sped up. The biggest issue is the screws that come with the switch. They strip so easily. Some of them just don’t catch the screwdriver for no apparent reason. I’ve never touched any of them before but some just catch less than others. They are very fragile so be careful taking them out and putting them in.
J**N
DO NOT buy these. Not worth the money or the work.
I bought this skin and the buttons from the same company. I received all of the parts during the last week of March and made the changes to my brand new, out of the box, joy-cons within a few days, so I have at least two full months using the joy-cons after having installed both the buttons and the skin. I've waited until I got a lot of game play in to write my review for this product. First, I DO NOT recommend taking the joy-cons apart at all to put in new buttons or a new skin. I watched a few youtube videos before purchasing that claimed that replacing the buttons and/or skin was tedious, but doable for inexperienced people, but that is extremely misleading. I want to go a head and say DO NOT DO THIS. I myself am fairly inexperienced at customizing electronics, but I went forward with customizing the joy-cons with my fiancé's help (he builds custom computers and has a lot of experience taking electronic parts apart and putting them back together). Even for someone who has experience doing this, the parts and space inside the controller are extremely small and any wrong move you make can impact the controls. I didn't immediately notice to any issue with my joy-cons after we completed the changes, but a few days after we customized the joy-cons, I tried to use one of mine to play Mario party with my fiancé and found the the right joy-con will not register for single controller use. I thought the issue had more to do with the fact that we were using different joy-cons from different pairs, so I grabbed the pair for our other joy-con set and didn’t think to much about it for a while. After about a month and a half after the customization, I noticed some delayed responses to some of my controls when playing. I’ve been heavily paying Animal Crossing during quarantine, so I assumed it was a low battery issue, but after charging the Switch and joy-cons and moving the joy-cons to the joy-con grip, my right joy-con (same one as before) kept temporarily losing connection during extended game play. Then, when I tried to move my Animal Crossing game into two player mode, I found that my left joy-con worked fine, but my right joy-con would not register as a single controller (again, the same issue as before, but this time I wasn’t using joy-cons from two different sets). I still use my joy-cons, but I can’t use them for game play that requires precise controls, like fishing in Animal Crossing or boss fights in BOTW. The toughest issue with the joy-cons is that most of the games will use the controls on the right joy-con for actions, so I really am limited in some of the things I can do with my joy-con. I don’t recommend replacing either the skin or the buttons for the joy-cons, as any customization you do to the joy-cons requires you to take the whole thing apart. I understood that making these customizations could affect the integrity of the joy-cons, which is why I bought a new pair to use for the customizations; However, even considering my precautions, I still don’t recommend customizing the joy-cons, even if it’s a second pair, because you’ll be limited in the uses for those joy-cons (can’t use them in Mario Party, for games that need more accurate controls, etc.). For as easy as this company attempts to make customization with their video tutorials and the tools they include with the product, you really are just wasting your money and time with these products because the joy-cons are not made to be easily customizable and even someone with more experience in customizing electronics will find it difficult to manage the small ribbons, small parts, and small wires. In the end, you won’t be able to make full use of the joy-cons and will probably need to buy yet another new pair. The soft feel of the skin and variety of colors is not worth trouble in customizing and the risk of not being about to you the joy-cons afterwards.
K**.
Great Product. Easy to Install.
Great product. Great shop. I was easily able to swap the shell following a YouTube video. Doing both joycons took about 1 hour. The kit comes with everything you would need. Including additional screws and screwdrivers - however, I highly recommend getting a magnetized screwdriver, though it’s possible without, but I wish I would’ve had one. Also make sure to have a good pair of tweezers as they will come in handy. Basically checkout FetchingTech’s YouTube video and make sure you have the tools he’s using. Or something similar. Overall, I was still easily able to do this with the tools from the kit and what I had at home. The quality of the product is also fantastic, I’ve used this company before for my PS5 controller.
T**A
My First Joy-Con Shell Replacement – Fun and Surprisingly Easy!
This was my first time replacing a Joy-Con shell, and honestly, it was such a fun little project! It took me about an hour and a half—though majority of that time was spent searching for a lost piece (oops). Pro tip: While the kit includes a screwdriver, I’ve heard it can strip screws easily, so I’m glad I had my Y00 and PH00 bits from iFixit. If you’re planning to do this yourself, I highly recommend using a quality precision magnetic screwdriver to avoid headaches. I don’t have a mat, but I improvised by using a thumb grip container from a recent purchase to hold all the tiny screws and springs. It kept everything organized and prevented parts from rolling away—super handy! I haven’t used the Joy-Con much yet, but the new shell looks great and comes with replacement screws and buttons. It feels nice in the hand, though I can see it picking up stains or grime pretty easily, so keep that in mind. If you're not replacing the joystick, I recommend doing the shell swap without disconnecting the ribbon cables. That part made me nervous—I wasn’t confident I'd be able to reconnect them properly. I followed a tutorial by CptnAlex on YouTube, and it was incredibly easy to follow. Just a heads-up: his guide doesn’t cover how to replace the middle frame piece, but even without prior experience, I was able to figure it out on my own without much trouble. All in all, it was a great experience, and a fun way to refresh my Joy-Con. If you're on the fence about doing it, go for it—it’s totally doable!
A**R
High quality product
This ended up being absolutely perfect for my black and white desk set up. Nintendo Switch joy cons are difficult to work with, but the parts this came with fit perfectly without any issues. The quality and feel of the plastic on the face and back plate are actually even better than the ones that came with my Switch! I didn't even realize that this kit came with the exact screwdriver and bits that you need to disassemble and reassemble the joy cons, so that was a huge plus as well. Not to mention, it had all of the screws and buttons you would need, but I just used the ones that my joy cons already came with. Overall, this is a very high-quality product that has everything you could need and more. I can't recommend it enough for those who are willing to take the time to disassemble their joy cons to change the color. 10/10
L**.
Installation is definitely tough, but the end product is so worth it <3
I am SO glad I decided to buy this and upgrade my Switch! It is such a beautiful color, and along with the other accessories I bought (white buttons and Sakura joystick caps), I adore how my Switch looks so much <3 The casing also has a nice feel to it. The description strongly recommends having electronic experience while installing these. I don't have any, but the tutorial videos do a good job of explaining what exact steps to take, so I did it myself. Having small hands help since you're working with small screws and tools. It definitely took me maaany hours to do. There are two things I did wrong: 1) I didn't know there was a lock mechanism to the electric ribbons, so I didn't put them back properly. Because of that, my left joycon doesn't connect to the Switch in handheld mode (but still charges). To play in handheld mode, I have to leave my right joycon slightly moved up so it doesn't connect either. 2) I tightened the screws too much and stripped them, so now I can't open the joycons back up to fix the ribbons. I still rate the item 5 stars because this is no fault of the product itself, but definitely either have electronic experience or be very very careful when installing these! Even though I have the connection issue, the upgrade is still 100x worth it. Love my Switch so much! <3
S**L
Umbau fast problemlos mit kleinen Händen, allerdings 2 Wünsche
Der Umbau selbst war ne ziemliche Fummelarbeit und hat Ewigkeiten gedauert (so um die 3 Stunden für beide), ist aber bei der Größe der Joy Cons auch kein Wunder. Die Verpackung hat alles recht gut zusammengehalten. Der Schraubendreher, der dabei lag, scheint qualitativ recht wertig zu sein, allerdings wurde er abgesehen vom Umbau aber auch nicht auf Qualität und Haltbarkeit überprüft. Cooles Plus: Die Umbauanleitung ist im Internet (YT, um genau zu sein), daher der beiliegende Zettel mit Sicherheitshinweisen sehr flach gehalten, aufs Nötige beschränkt und wenig Papiermüll. Wärmeleistung und Haltbarkeit nach dem Umbau hab ich noch nicht ausreichend getestet, allerdings ist bisher (ca 3 Wochen nach Umbau) alles super. Schrauben hatte ich fast alle existierenden genommen (die fürs Case gewechselt aufgrund der unterschiedlichen Schlitze), da bei ihnen farblich klarer waren, wo sie hingehören. Allerdings ist der ein oder andere Knopf kleiner als das Original, so zum Beispiel der Homebutton am rechten JC (der wackelt bei mir ab und zu ein wenig). Zwei Wünsche hätte ich allerdings an den Hersteller: - Ich hab mich beim Umbau bei einer Schraube vertan und jetzt in dem Case eine kleine Erhebung, in der ich die zu lange Schraube rein gedreht hab (stört mich aber nicht wirklich). Cool wäre es, wenn bei der Anleitung kurz spezifiziert welche, welche Schraube verwendet werden sollte für Leute, die zum ersten Mal so einen Umbau machen (zum Beispiel mit Nummern, die kleinste hat die 1, die ganz Äußeren fürs case die 3 oder ähnlich) - Ich hab auf der Webseite recht lange suchen müssen, um die Anleitung für meine Art vom Umbau zu finden und schlussendlich einfach über YT direkt gesucht. Da würde ich mir einen separaten Punkt wünschen für den Umbau vom Case, ohne dass man am linken JC die Knöpfe zum Kreuz wechselt. Alles in Allem bin ich ziemlich zufrieden. Sieht super aus, weil's jetzt auch farblich zu dem Rest der Switch passt und fühlt sich genauso an, wie neu gekaufte JCs.
N**N
Great Quality Matte soft touch shell
Great texture, very high quality shell. But the buttons imo arent as great as the original and the shell precision isn't as great. Overall highly recommended, much better than other brands.
J**O
Great Joy-Con shell replacements
They look great! Good material used (soft to the touch), relatively easy to install (only took me an hour to do, most difficult was the ribbon cables). Software to change Joy-Con colours from Neon-Red/Blue to straight Red was easily found on (GBAtemp). I'm very happy with this
C**A
Kit complet incroyable avec vidéo
Produit incroyable ! Complet avec le tourne vis les vis en plus... avec un QR code pour suivre une vidéo du démontage et montage des manette ! franchement super bien c'est incroyable ! Si vous êtes minutieux et sans forcément avoir l'habitude de toucher a des trucs informatique de ce type vous pouvez y aller sans souci ! tout est la pour vous montrer comment changer vos manettes de style ! J'adore trop fan ! :)
A**R
Great products, I will be buying again
Easy to transfer all of my joy-con electrical components over. If you're unsure how to do this ExtremeRate have 'how to" videos on their Youtube channel. But as long as your delicate with the ribbon cables and follow the instruction video, your nan could do it without her reading prescription. works perfectly with my screen unit and no docking issues on the stand. finished nicely with a soft touch feel for comfort and slight grip. I opted for the black housings. Despite the image looking slightly grey, they are in fact the matt black colour Joy-cons batman would own. I also bought the LED tuning kit for the joy-con indicators and dock which complete the look perfectly. highly recommend for people that don't want to spend £70 on a new set of Nintendo Joy-con units just for the sake of changing the colour. this is a much better alternative.
Trustpilot
1 month ago
1 month ago